

Hello, fellow travelers, Sam here! I’m here to talk about the day-to-day itinerary of my trip to Everest Base Camp. Everest Base Camp has been on my bucket list for quite a while, but I was always nervous to pull the trigger because I was worried about the difficulty of trekking that many days in a row at altitudes that I was not accustomed to here in the States. After finally completing the trek, I can safely say it’s completely doable for anyone with a reasonable fitness level. It definitely was the most difficult thing I have done in my lifetime but it is achievable and certainly incredibly rewarding!
How did I prepare? I actually did my first legitimate hike in Nicaragua when I trekked 15km to the top of Telica Volcano, and then 9km down the following day in July of 2017. That was when I started to discuss the possibility of doing the EBC trek. That same year in November I was in Peru where I hiked from Aguas Calientes to the top of the Sun Gate in Machu Picchu. In that same trip, I also got our first taste of what it would feel like at higher altitudes in Cusco where I was at about 3000m. Altitude was always a big concern for me because of my asthma. While in Cusco I found out about a challenging day hike to Rainbow Mountain which was 18km round trip and reached the summit at 5200m. I decided that I would do this hike to see how my body reacted to being up that high. After completing that hike as challenging as it was I knew that I was totally capable of hiking at higher altitudes.
Now back in New York, I convinced three of my friends to join me in doing the EBC trek the following year. We all decided that we would do hikes on a monthly basis until EBC to keep our bodies in shape and used to trekking. We also spent quite a bit of time on the step climber and treadmill at the gym. The only downfall of being in New York was the lack of altitude, but these monthly hikes definitely helped our legs get used to uphill and downhill for extended periods of time. Besides training, we also spent the year researching all the different gear we might need on the trek. (For a list of what we brought with us see here). After a year of preparing the time had finally come to go on the trek!
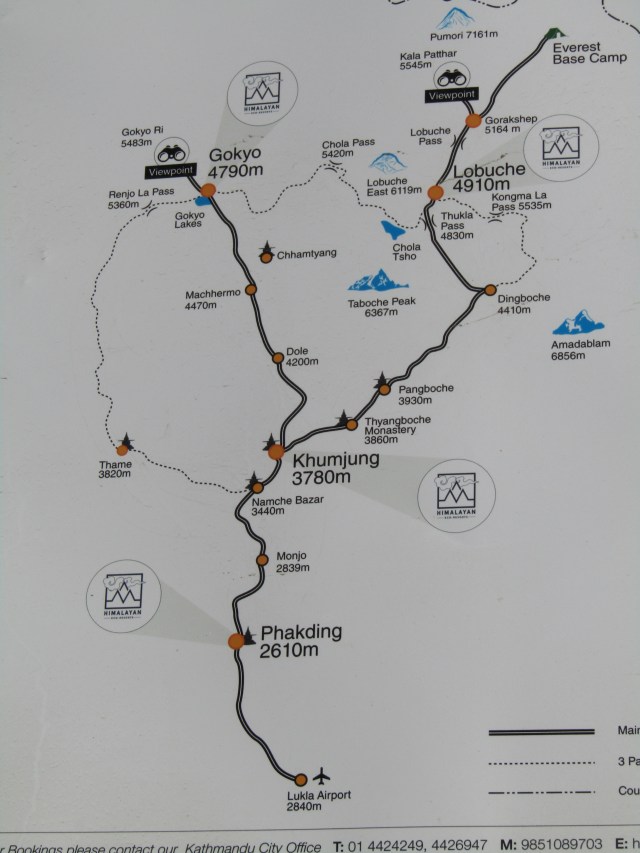
We spent exactly 11 days on the EBC trek – Here is our itinerary. We hope this helps anyone looking to plan their trek.
Day 1: Kathmandu to Lukla to Benkar

Our day started at the airport in Kathmandu where we nervously awaited our flight to Lukla, on Tara Air. The airport we would be flying into that day was said to be one of the most dangerous airports in the world due to how short the runway is. Our plane finally arrived and we boarded a small 14-seater plane which flew us into Tenzing-Hillary Airport. The 30 minute flight was definitely as much of an adrenaline rush as it was rumored to be!
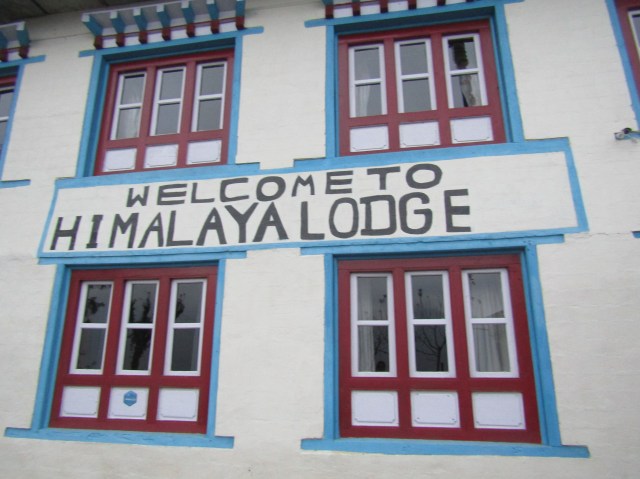
After getting off our plane, we met up with the other two people in our group that happened to be on the flight 1 hour before us (even though we all booked the same flight, for some reason, likely overbooking, Tara Air split us up. Unfortunately this is quite a common occurrence. On our way to looking for our friends, a gentleman approached us named Ram who was trying to pitch us his services as a local guide. Now, we read that you should go to the Himalaya Lodge first and ask them to recommend a guide for you based on your needs, but Ram seemed like a nice guy and despite our better judgement, we decided to give him a chance. We found our friends and went and sat down at the Himalaya lodge common room with Ram to hear his pitch. After negotiating with Ram, we decided to hire him and his two porters to take us up the mountain.

While he and the porters got everything organized for us, we all had our first breakfast of the trek. After breakfast, we had some time to watch the planes and helicopters come in and out of Lukla Airport, while trying to get video of the planes taking off I accidentally stepped in what I believed at the time to be yak poop. This actually kicked of an interesting conversation which led to a friendly bet/pool we all agreed on for the trek which was that the last person to step in yak poop by the end of the trek would be the winner and take home the pot which was decided to be 500 npr per person. We affectionately dubbed the pool, “the sh** pool.” We also decided to keep track of when/where each person in the group surpassed their highest altitude. The following was everyones current “record”.
- Keith: Somewhere in Oregon (3230m)
- Aphrodite: Cusco, Peru (3399m)
- Anisha: Volcan Tajumulco, Guatamala (4220m)
- Sam: Rainbow Mountain, Peru (5200m)
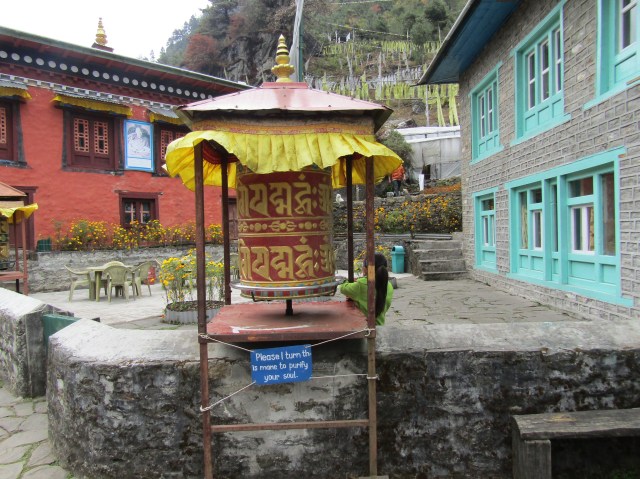

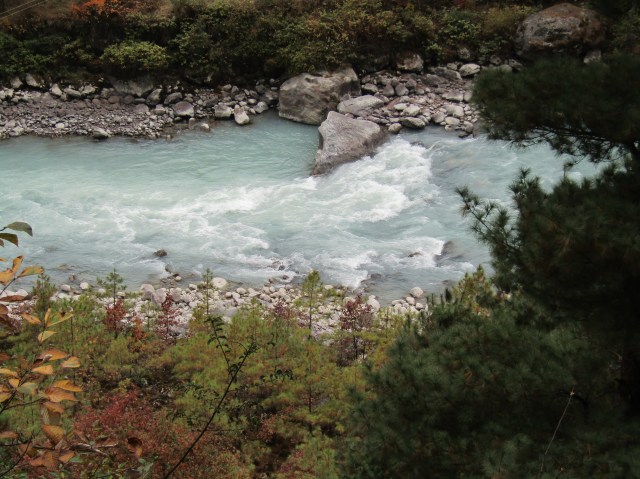

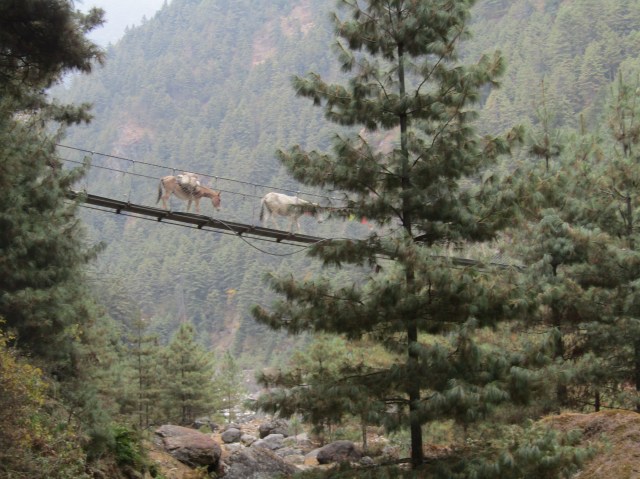
After all that, Ram finally came back to us at about 10am and we were ready to start our trek. On our first day we got to see so many cool things like suspension bridges, prayer wheels, joki (a cross between a cow and a yak), and the Milky River (a glacial river that has a milky look and a very pretty, seafoam green sort of color). The trek itself consisted of alternating ups and downs and flats until we reached our stop for the night, Tashi Guest House in Benkar. This teahouse was ok, not great, but not horrible. It was extremely basic but most teahouses are. We would only not recommend a teahouse if it was very bad. Most people stop in Phakding, but we went a bit further in order to make our second day easier as day two is known to be pretty challenging. We felt this was a good move. Some stats we will be monitoring day by day:
Day 1 Stats:
- Starting Town/Altitude: Katmandu (1400m)
- Stop 1 Town/Altitude: Lukla (2800m)
- Stop 2 Town/Altitude: Ghat (2490m)
- Final Town/Altitude: Benkar (2700m)
- Accommodation/Cost/Recommend?: Tashi Guest House/300 npr/yes
- Trek/Break(s) Duration: 6.25 hrs/.75 hrs
- Difficulty: Easy to Moderate
- Keith is knocked out of the sh** pool!
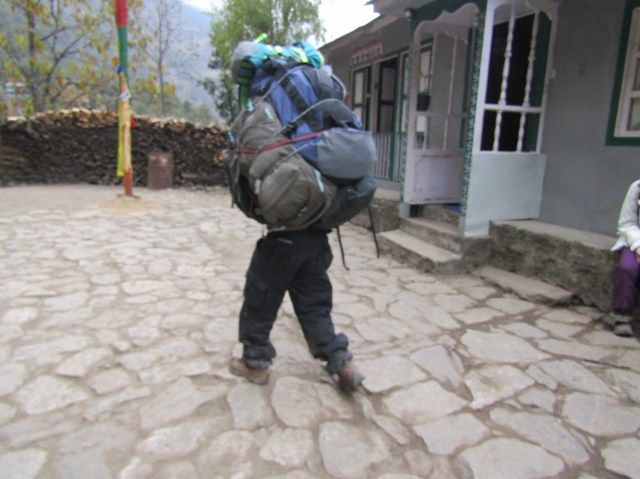
While on the trail we ended up running into our two porters, one of them was actually carrying 3 bags and at 20lbs each his load was a whopping 60 lbs. I was curious what it was like to trek with that type of load so I asked if he could walk for a bit with it, which they laughingly obliged. After walking about 20ft, I was very glad to hand the load back over and also very sympathetic, apreciative, and thankful for the hard work our porters were doing.
Day 2: Benkar to Namche Bazar
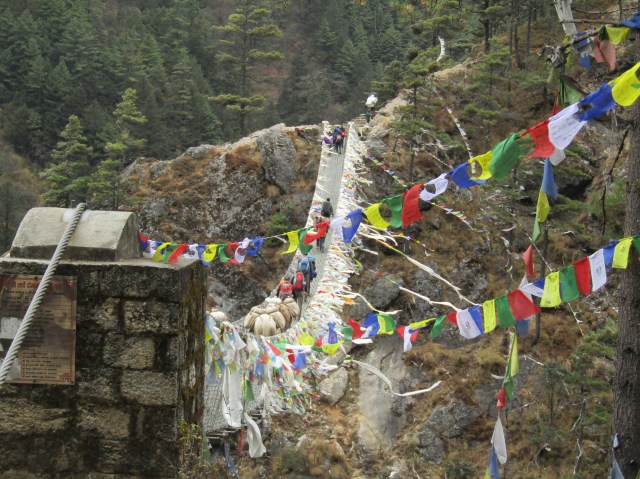
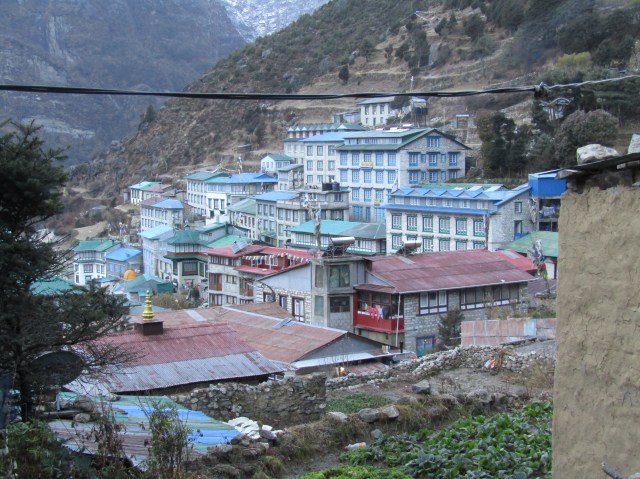
After a cold night in Benkar, we woke up for a quick breakfast after which we began our hike. The first half of the hike was fairly easy, but once we got to the second half we had to contend with the steep hill into Namche Bazar. We all also started to feel the effects of the altitude the closer we got to Namche. The weather that day was extremely cloudy. We did get to cross the famous Hillary Bridge which is said to be the highest suspension bridge (from the ground). It is also above another bridge which makes for a cool photo-op of the double bridges. When we got to Namche, we checked into our lodge, Lhasa Guest House. We really liked this lodge a lot because it had a western toilet (that actually flushed without a bucket!) and was much warmer than most of the other lodges we were in. The lady who runs it is also very nice and she has 2 adorable little children!
Day 2 Stats:
- Starting Town/Altitude: Benkar (2700m)
- Stop 1 Town/Altitude: Jorsalle (2800m)
- Final Town/Altitude: Namche Bazar (3500m)
- Accommodation/Cost/Recommend?: Lhasa Guest House/300 npr/yes
- Trek/Break(s) Duration: 6.5 hrs/.50 hrs
- Difficulty: First half – Easy, Second Half – Difficult
- Keith and Aphrodite replace Altitude record.
- Aphrodite is knocked out of the sh** pool!
Day 3: Namche Bazar Acclimatization Day
In order to properly acclimatize and help to reduce the chances of getting altitude sickness aka AMS, it is recommended to build in acclimatization days into your trekking itinerary. An acclimatization day consists of hiking high and sleeping low in the village you slept in the night before. On our first acclimatization day we hiked from Namche Bazar to the Sagarmatha National Park Museum, and the Everest View Hotel (aka Japanese Hotel). The hike was short but steep as most acclimatization hikes were.

Our First stop was the Sagarmatha National Park Museum. The museum had a lot of information about the mountains in the region, the flora, and fauna, and a lot of information about Edmund Hillary and Tenzing Norgay, the first two people to summit Mt. Everest.


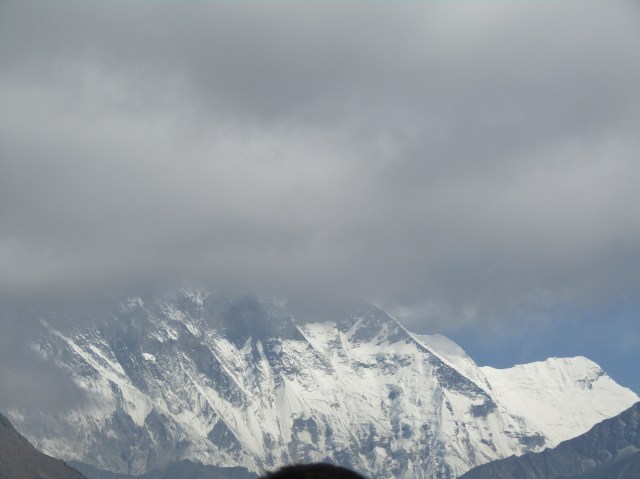


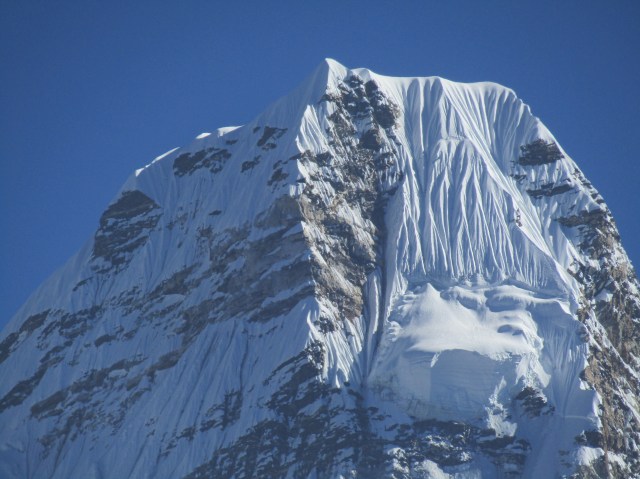
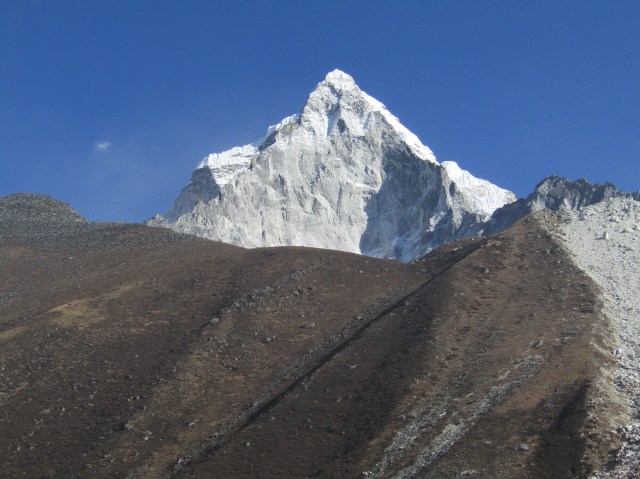
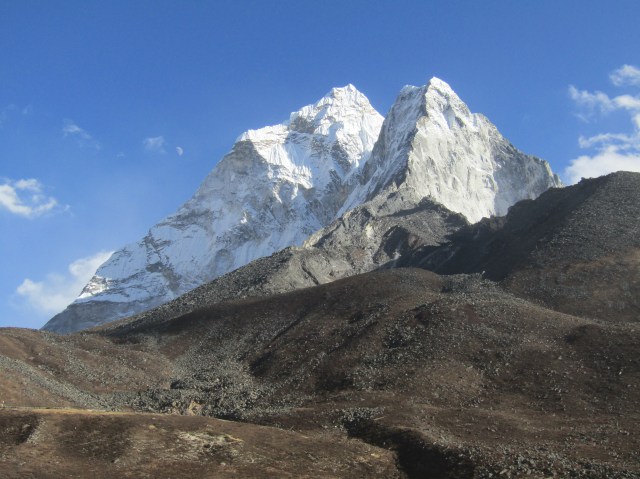
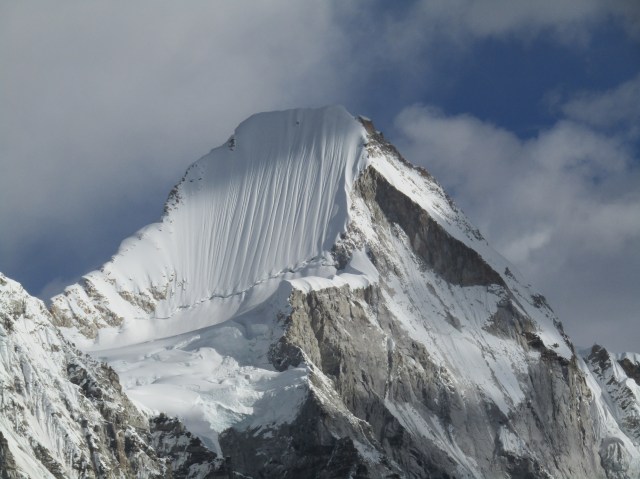
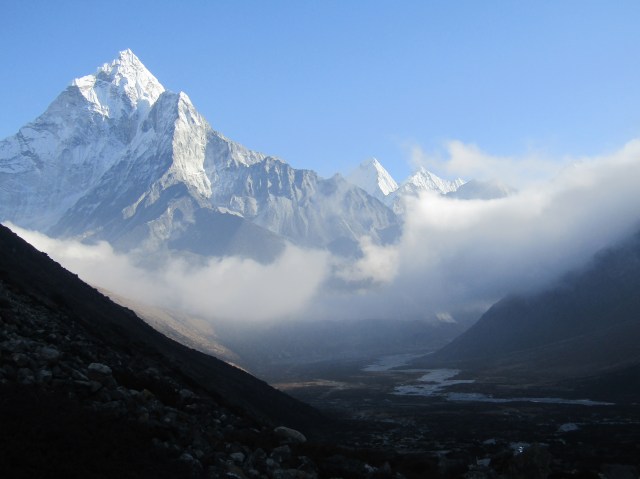
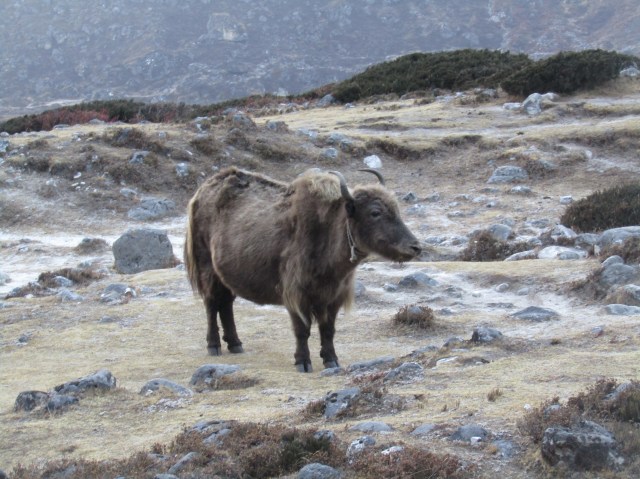
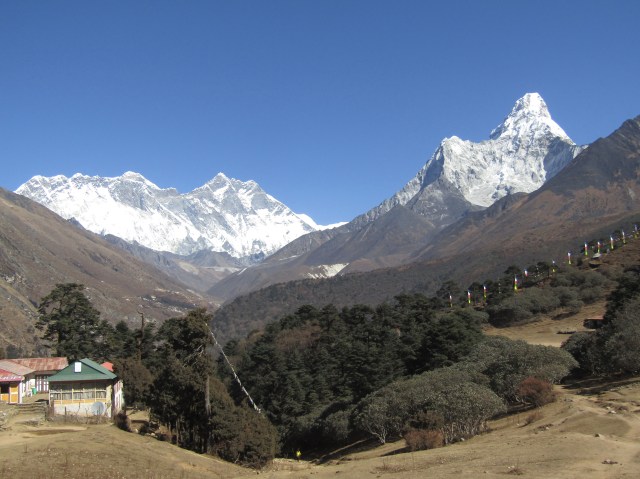
We then made our way to Everest View Hotel which is supposed to don some decent views of Mt. Everest. Unfortunately for us it was a bit cloudy which made it very difficult to see Everest. We did however get a pretty good view of my new favorite mountain Ama Dablam! On our way up we saw porters carrying extreme loads up to the hotel. One even carried an actual refrigerator! On our way up we also got to see our first actual yak. Our guide told us that full blooded yaks cannot survive below Namche Bazar, which is why up until now all we saw were jokis.
Once back in Namche we had time to relax. Namche is actually a pretty big town with lots of stores, a German Bakery (the world’s highest), an Irish Bar (also the world’s highest), and even a 7-11. Namche is also the only town on the the trek with ATMs. The ATMs were not very reliable so it is best to try and get most if not all of your cash in Kathmandu. We did finally find an ATM that worked for us but it was a bit stressful to get declined over and over before finally finding one. We spent most of the rest of the day window shopping and hanging out in the bakery (highly recommend & they also have free wifi!)
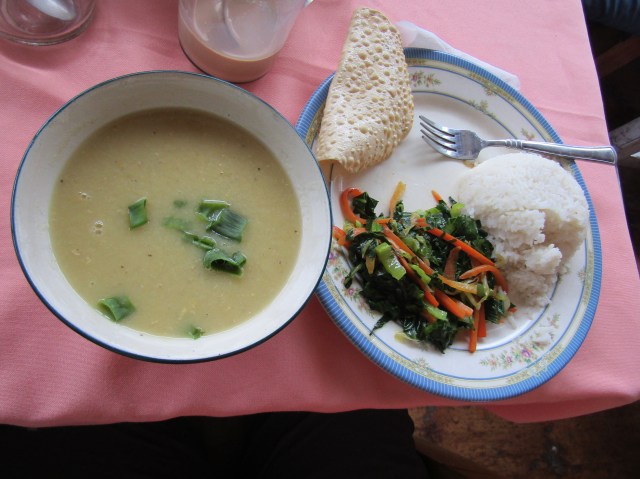
We also found out that the teahouses will charge you a large premium if you do not eat your meals there (Breakfast and Dinner). The food was pretty good at the teahouses so we didn’t mind following this rule, and they had a large variety ranging from soups to pizzas, pastas etc. We recommend staying away from meat, at least from Namche & upwards. Supposedly the meat is carried up by porters/yaks so it may not be the freshest at higher elevations. We ate vegetarian for the entire duration of the trek.
Day 3 Stats:
- Starting Town/Altitude: Namche Bazar (3500m)
- Stop 1 Town/Altitude: Sagarmatha National Park Museum (3570m)
- Stop 2 Town/Altitude: Everest View Hotel (3880m)
- Final Town/Altitude: Namche Bazar (3500m)
- Accommodation/Cost/Recommend?: Lhasa Guest House/300 npr/yes
- Trek/Break(s) Duration: 4 hrs/1.75 hrs
- Difficulty: Moderate
Day 4: Namche Bazar to Tengboche
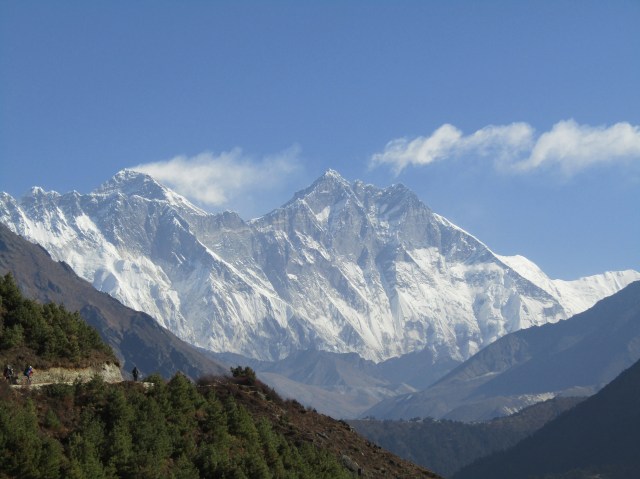


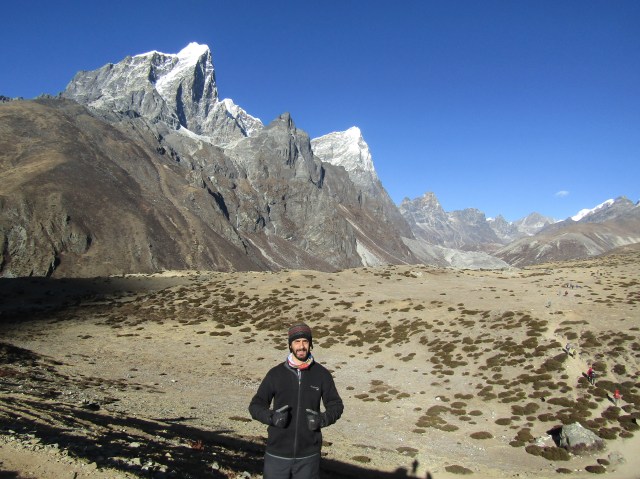
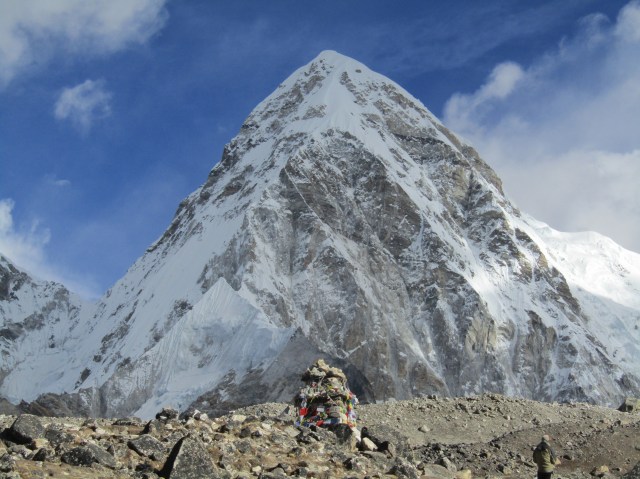
After waking up to a perfectly clear day, we were all extremely excited as our guide told us we would have great views of Everest, along with other mountains for a majority of our trek. Our guide was right and it was extremely tough to look away from the beauty that that was the Himalayas!
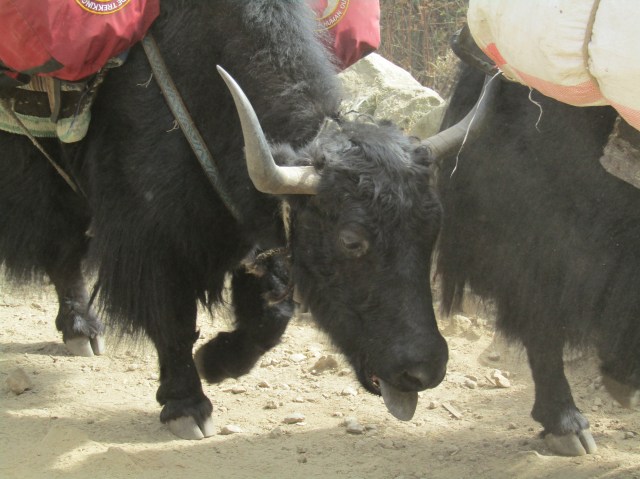
Also on our way to Tengboche we got to see more yaks. The hike to Tengboche was pretty challenging, as the hill into Tengboche was pretty steep. In addition to that, as we climbed in altitude, the air only got thinner! We also encountered a checkpoint on the way to Tengboche which claimed that the next few towns had a standard room charge of 500 npr which had to be paid at the checkpoint. Like I mentioned in the budget blog we were not sure if this was a scam (as we did see a bunch of independent trekkers refuse to pay). We were with our guide and did not want to cause any tension over a couple bucks. Our teahouse had little to be desired, but just across the field there was a much nicer teahouse (our guide said that the nicer one was full). So even though they both cost the same, as previously mentioned, the quality was far from equal.
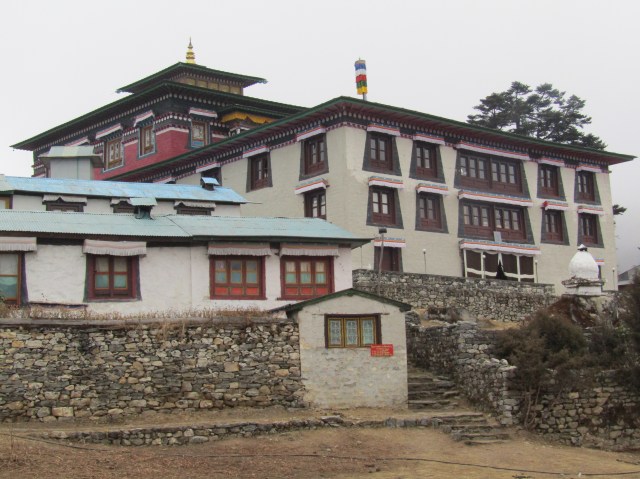
Once arriving in Tengboche, we were lucky enough to get there just before the famous monastery closed. We were not allowed to photograph the inside of the monastery but trust me in saying that it was pretty incredible!
Day 4 Stats:
- Starting Town/Altitude: Namche Bazar (3500m)
- Stop 1 Town/Altitude: Phungithaya (3550m)
- Final Town/Altitude: Tengboche (3900m)
- Accommodation/Cost/Recommend?: Gomba Lodge/500 npr/no
- Trek/Break(s) Duration: 6 hrs/1 hrs
- Difficulty: Moderate to Difficult
- Anisha is knocked out of the sh** pool!
- Sam WINS the sh** pool!
Day 5: Tengboche to Dingboche
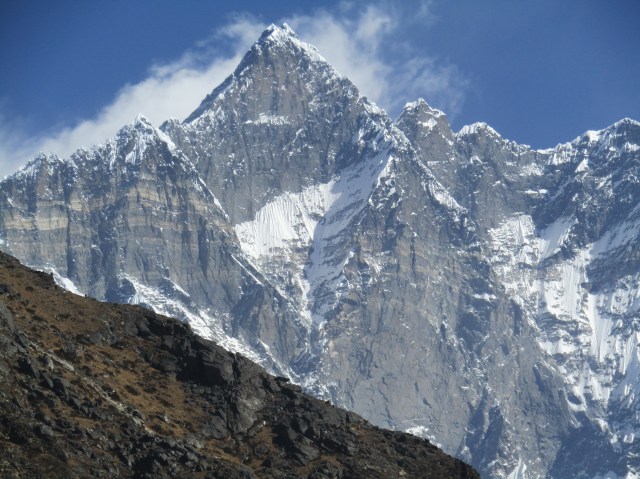
Waking up again to a beautifully clear day, we begin our trek from Tengboche to Dingboche. As we trekked, Mt. Everest retreated slowly behind the other mountains in its range. It was no big deal since we still had many other beautiful mountains all around us, we were in the Himalayas, after all! The trek itself was not too bad – it consisted of some down, a good amount of flatness and a good amount of gradual steepness.


One thing on the trail that kind of freaked us out was that while on a suspension bridge we could see another suspension bridge which had collapsed at some point. Another thing that made us a bit nervous was the increase in helicopters flying back and forth. Our guide told us they were mainly rescue helicopters bringing people who were suffering from AMS to Kathmandu. One thing we read is that some guides benefitted from their clients taking helicopters which they recommended, so we suspected our guide did due to the frequency at which he brought up helicopters. While you should take AMS seriously, we still would caution anyone trekking in the Himalayas to listen to their bodies and not their guides when it comes to using your travel insurance for a rescue helicopter (also make sure to call your insurance company before accepting a helicopter rescue even if the guide tells you you don’t have to … that is why you have it! We used World Nomads. Thankfully we didn’t need it, but the price was pretty reasonable – just make sure it covers helicopter transport). I also want to say other than the whole helicopter thing, our guide was fantastic. He did a great job of taking care of us, teaching us about the area and the mountains, and overall was a great guy.
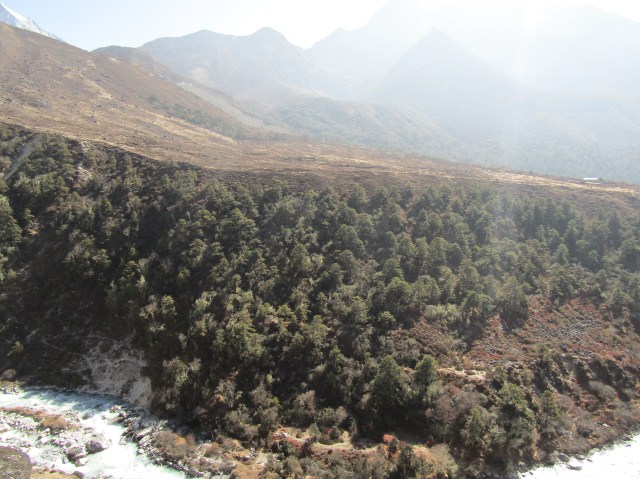


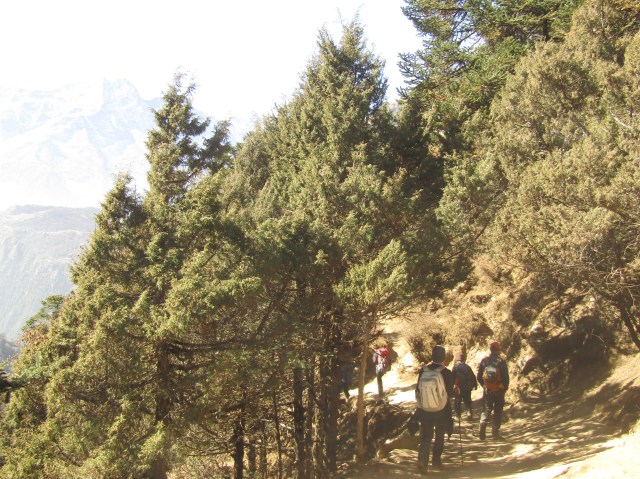
On the way to Dingboche, we also surpassed the tree line. The climate began to get drier and drier as we climbed higher which no longer supported trees. We also finally found out what they used to warm the common rooms in the tea houses we stayed at, believe it or not, they use dried yak poop as fuel for their stoves!

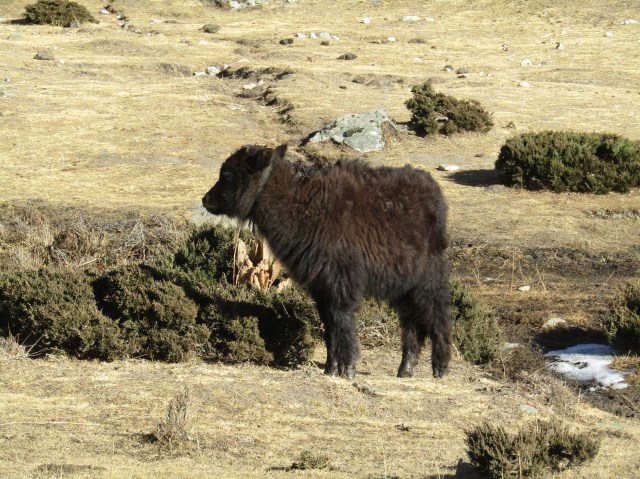
Once arriving in Dingboche we were exhausted after 5 straight days of trekking and we definitely were feeling the effects of the altitude more and more walking even flat areas had us out of breath, even talking while walking had us breathing heavy. We did get to see a beautiful baby yak after entering town which lifted our spirits, and we were excited to be taking an acclimatization day the following day.
Day 5 Stats:
- Starting Town/Altitude: Tengboche (3900m)
- Stop 1 Town/Altitude: Somare (4100m)
- Final Town/Altitude: Dingboche (4400m)
- Accommodation/Cost/Recommend?: Mtn Paradise Lodge & Resort/500 npr/yes
- Trek/Break(s) Duration: 6 hrs/1.5 hrs
- Difficulty: Moderate
- Anisha replaces Altitude record.
Day 6: Dingboche Acclimatization Day

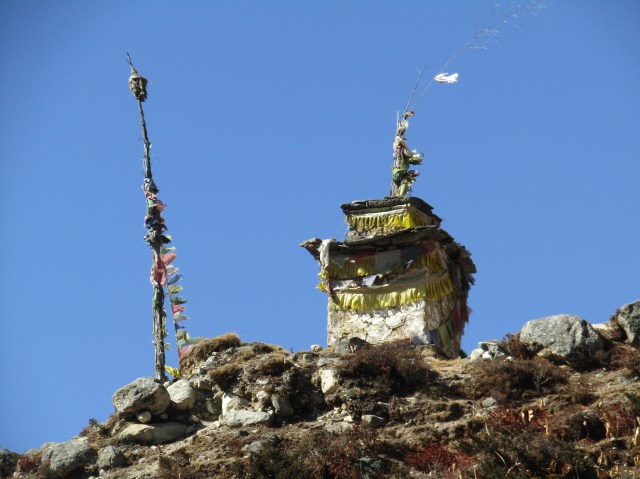
Normally one would do a much longer acclimatization hike but the group was in unanimous agreement that our bodies needed a break. We still needed to acclimatize a bit so our guide took us up to a flagpole a few hundred meters above town. The hike was very steep but also very short. We also caught a heli-rescue on video.
The short hike gave us plenty of time to relax and recoup. Luckily Dingboche also boasted a bakery which we spent quite a bit of time in ordering sweets, decent coffees/cappuccinos and playing some UNO!
Day 6 Stats:
- Starting Town/Altitude: Dengboche (4400m)
- Stop 1 Town/Altitude: Dengboche Flag Pole (4700m)
- Final Town/Altitude: Dengboche (4400m)
- Accommodation/Cost/Recommend?: Mtn Paradise Lodge & Resort/500 npr/yes
- Trek/Break(s) Duration: 2 hrs/0 hrs
- Difficulty: Easy to Moderate
Day 7: Dingboche to Lobuche
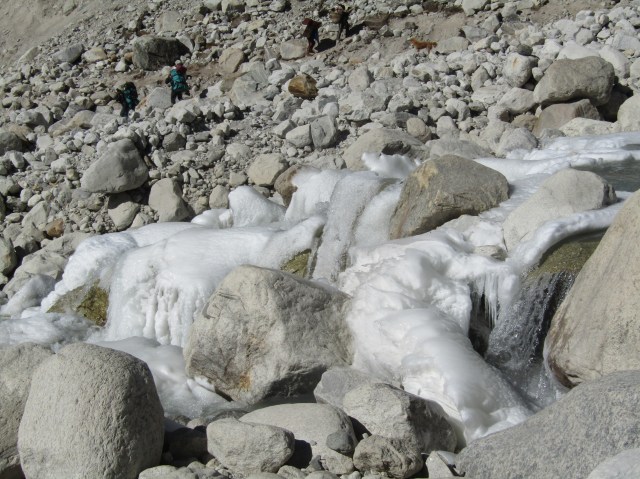
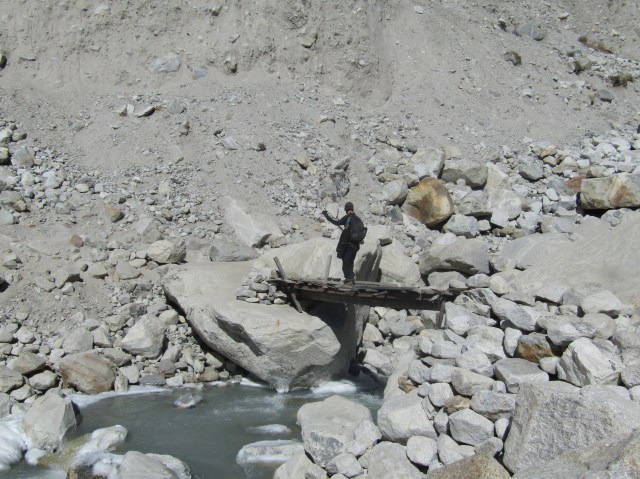
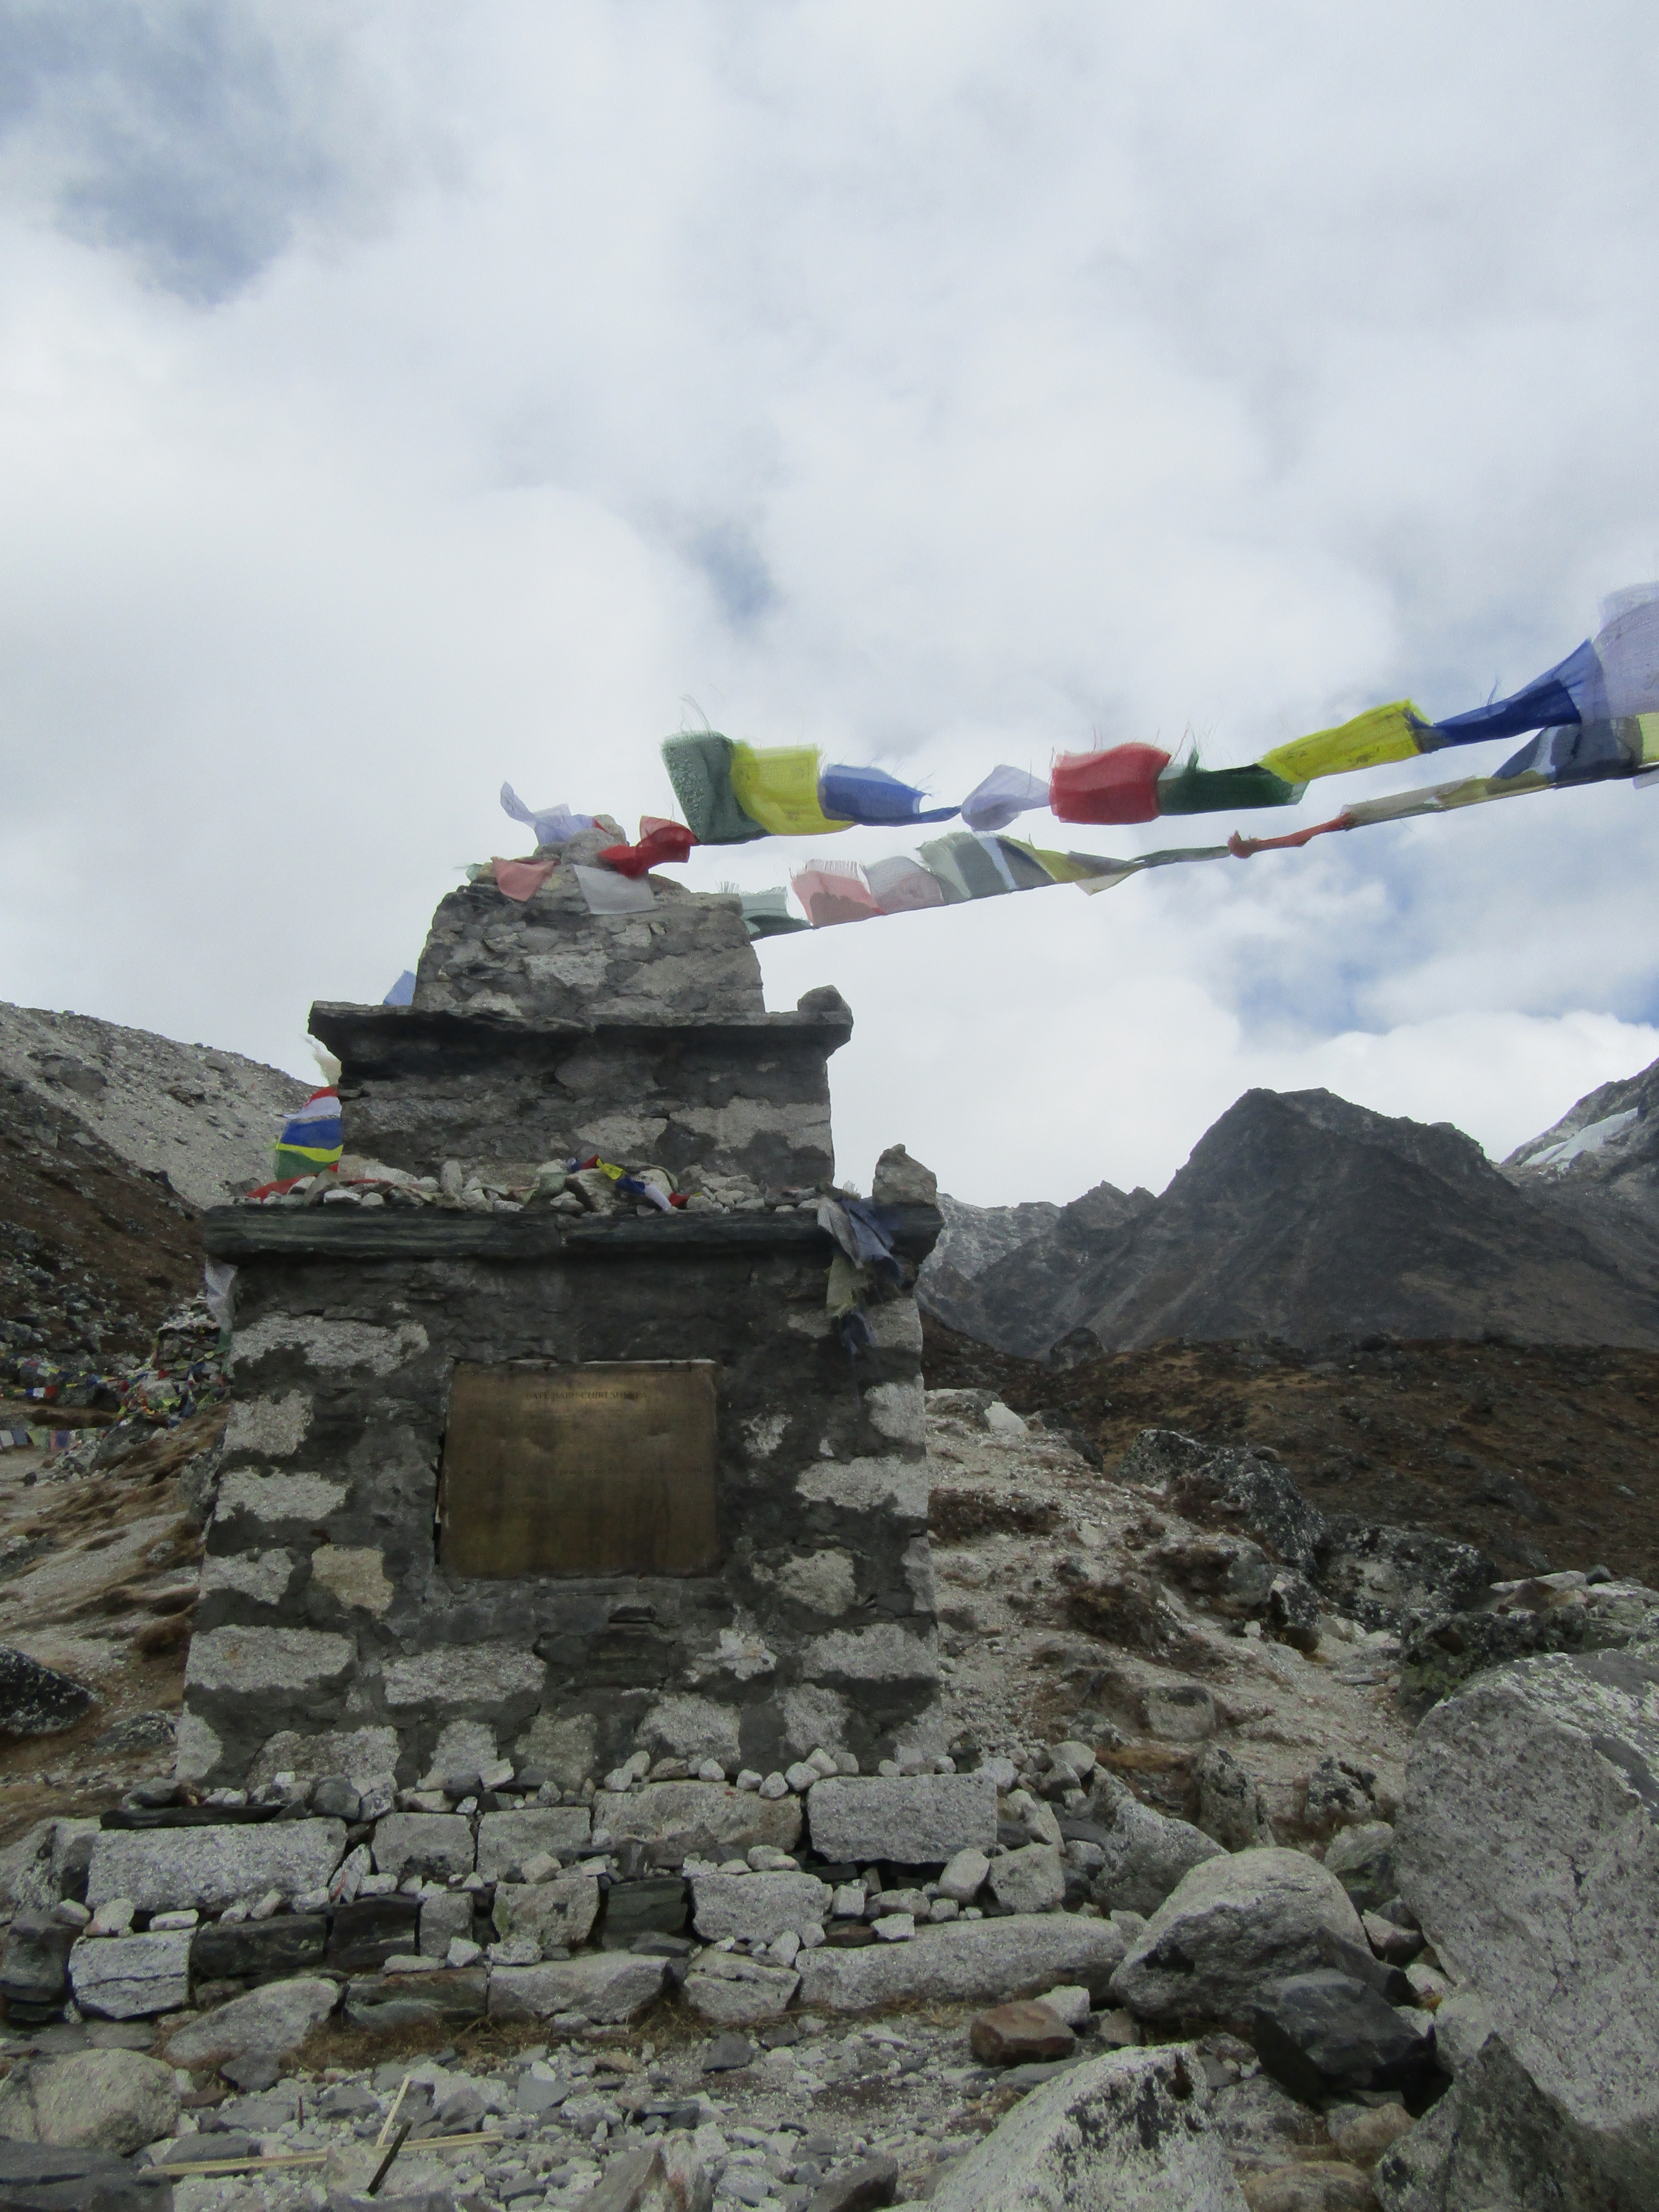

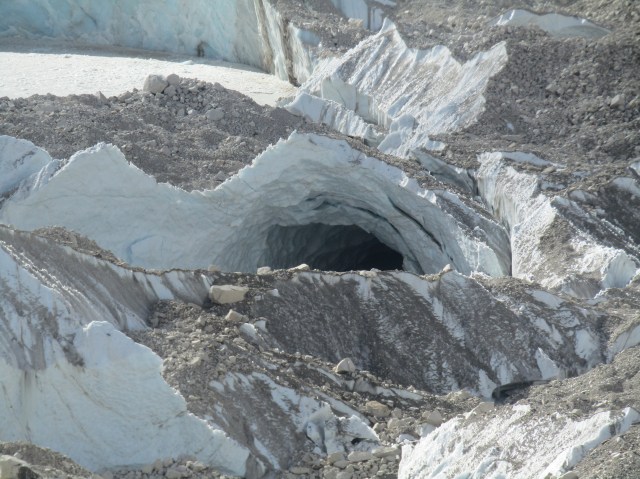
After a well needed rest day, we trekked from Dingboche to Lobuche. During the trek we saw many more helicopters, crossed a beautifully partly frozen glacial stream/waterfalls, plenty of mountains, and we even crossed a questionable bridge made of plywood. Also on the trail we got to see a memorial which honored all the men and women who died on Everest (climbers and sherpas alike). The hike itself was not too bad, if it wasn’t for the altitude I would say the hike was easy.
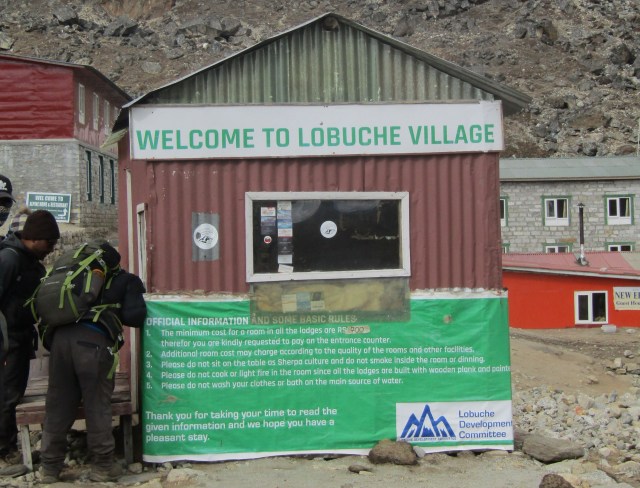
We passed another one of those checkpoints coming into town this time we were told that the rooms in the tea houses in the next couple of towns were going to cost us 700 npr.
Day 7 Stats:
- Starting Town/Altitude: Dengboche (4400m)
- Stop 1 Town/Altitude: Thukla (4620m)
- Final Town/Altitude: Lobuche (4900m)
- Accommodation/Cost/Recommend?: Alpine Lodge/700 npr/yes
- Trek/Break(s) Duration: 4.5 hrs/1.5 hrs
- Difficulty: Moderate
Day 8: Lobuche to Gorak Shep to Everest Base Camp to Gorak Shep
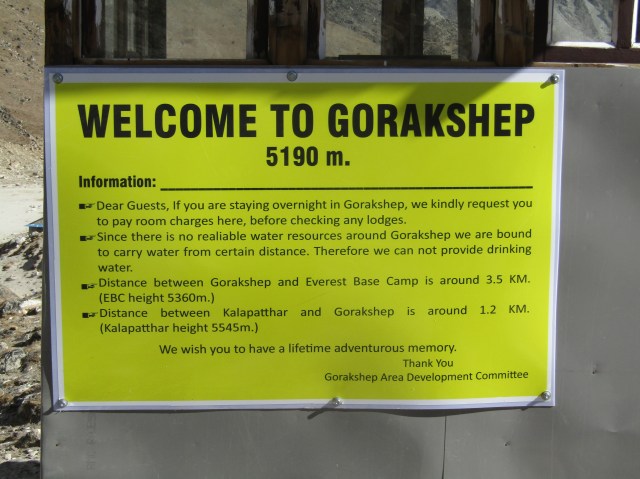
We all woke up extremely excited as today was the day we would finally make it to Everest Base Camp! Although today was also a very long day, our day consisted of a short hike to Gorak Shep where we got to drop off our bags rest a bit and grab lunch.
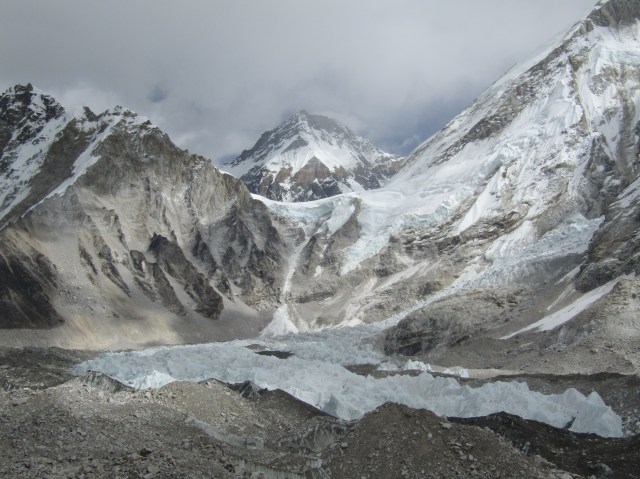
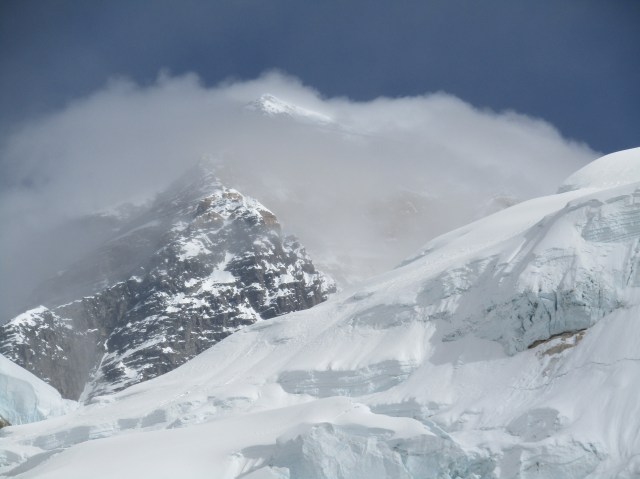

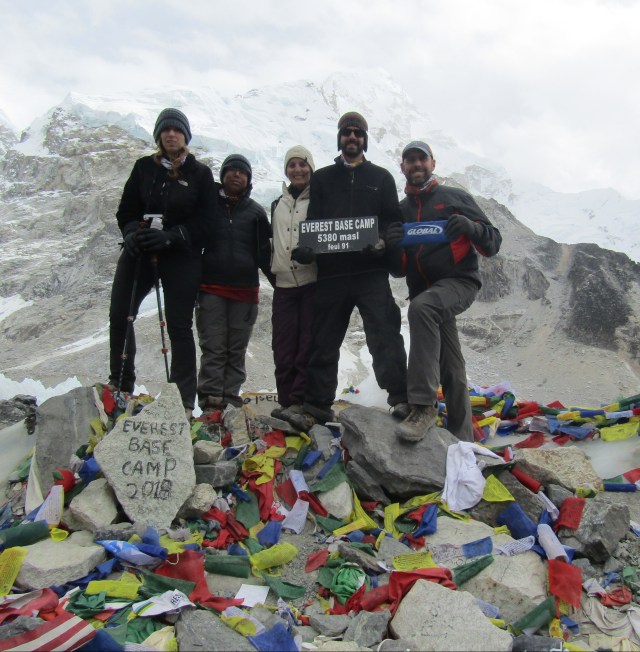
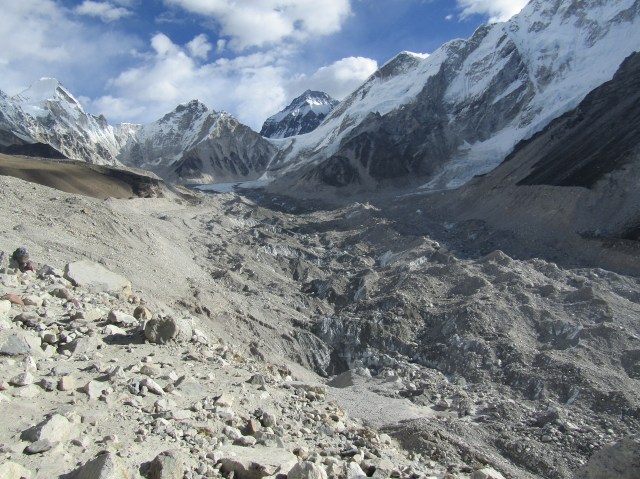
The second part of our hike was definitely the highlight. We hiked from Gorak Shep to Everest Base Camp. While at base camp we celebrated by taking pictures with the EBC sign and by enjoying a chocolate bar. We spent about 30 minutes taking pictures before heading back to Gorak Shep. Unfortunately we did not get a very good view of Everest due to the clouds.
Day 8 Stats:
- Starting Town/Altitude: Dengboche (4400m)
- Stop 1 Town/Altitude: Gorak Shep (5190m)
- Stop 2 Town/Altitude: Everest Base Camp (5380m)
- Final Town/Altitude: Gorak Shep (5190m)
- Accommodation/Cost/Recommend?: Budda Lodge/700 npr/yes
- Trek/Break(s) Duration: 6 hrs/1.5 hrs
- Difficulty: Moderate
- Sam replaced Altitude record.
Day 9: Gorak Shep to Kala Pather to Pheriche
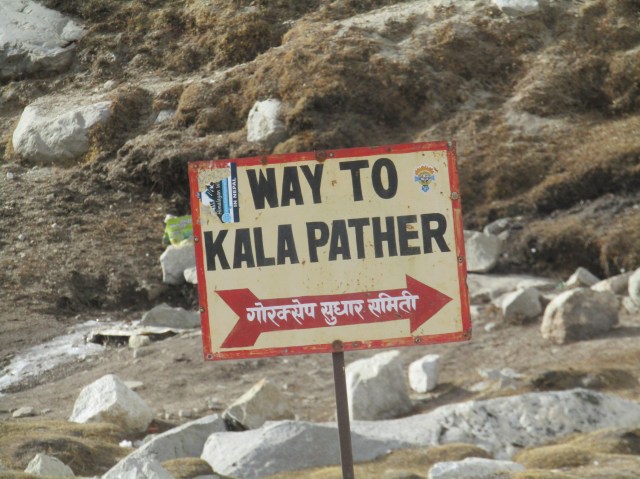


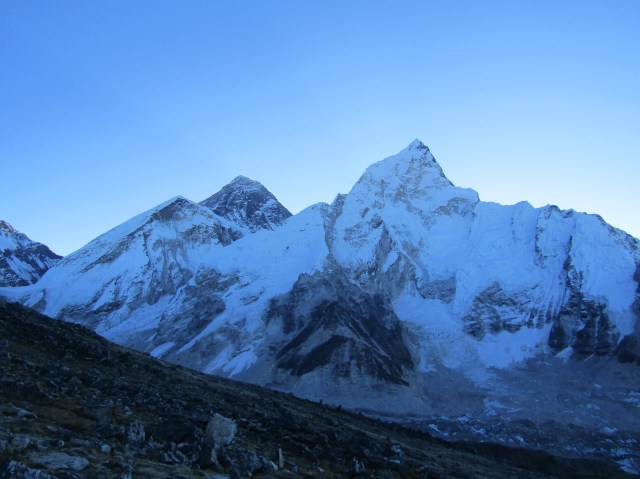
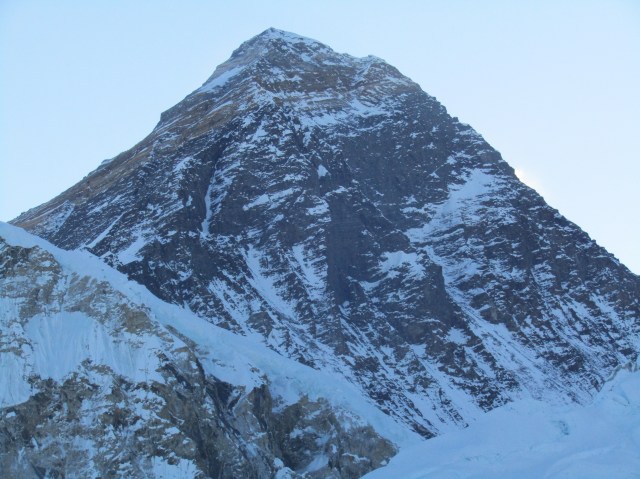
At 415 am Myself, Keith, Anisha, and our guide Ram started our trek to the Peak of Kala Pathar. Aphrodite decided to pass on this trek, but I was extremely excited about this part of the trip as Kala Pathar is said to have some of the best views of Everest and we actually get to summit a peak in the Himalayas! The goal was to summit and return to Gorak Shep by breakfast so that we could all start our descent. At 6:15am we reached the Summit right as the sun was rising, the skies were perfectly clear and the views were incredible, but make no mistake, this hike was the absolute most difficult thing I have ever done in my entire life! Even so, I am so happy with my decision not to skip it. We made it back to Gorak Shep by 730 where we met up with Aphrodite for breakfast.

The second part of our hike was a long trek down to Pheriche. The hike itself was pretty easy, but after being up since 4am we couldn’t wait for the hike to end. Pheriche was extremely windy and cold. Also, the teahouse had this awful smell that permeated the entire lodge. I know this sounds like complaining, but we feel like we have to convey to our readers the good and the bad of traveling. Pheriche was so cold that we begged the lodge owners to start the stove in the morning; they even let me help load the stove with you guessed it, yak poop! This was one of the worst places we stayed and were happy to leave. If we ever do this trek again, we would skip Pheriche and substitute staying in another town instead.
Day 9 Stats:
- Starting Town/Altitude: Gorak Shep (5190m)
- Stop 1 Town/Altitude: Kala Pather (5545m)
- Stop 2 Town/Altitude: Gorak Shep (5190m)
- Stop 3 Town/Altitude: Thukla (4620m)
- Final Town/Altitude: Pheriche (4200m)
- Accommodation/Cost/Recommend?: Hotel Thamserku/500 npr/no
- Trek/Break(s) Duration: 6 hrs/1.5 hrs
- Difficulty: Moderate
Day 10: Pheriche to Namche Bazar

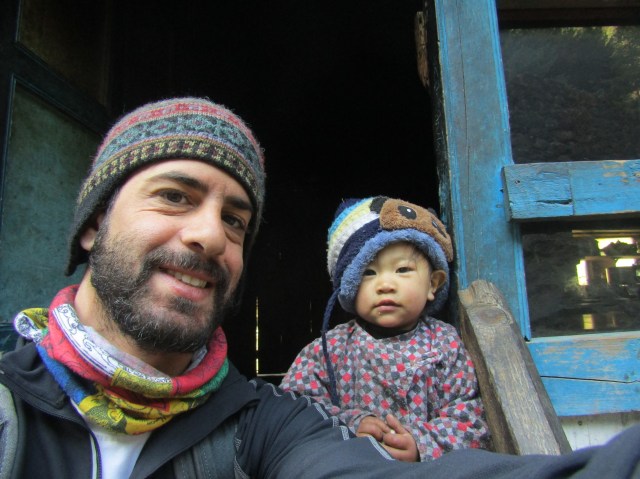

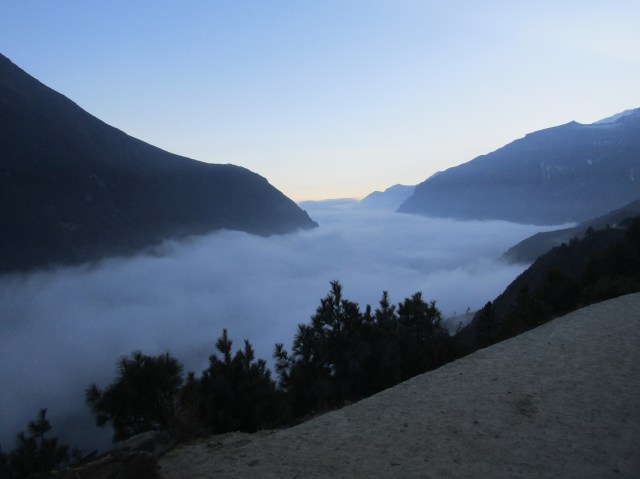
Pheriche to Namche was an extremely long day. The hike itself was not bad but the distance was extremely long. When we got back to our first suspension bridge, we started to get really excited because we knew that we were getting closer and closer. We also finally got to see trees again. The highlight of the day was the few minutes we got to spend with the cutest little boy high-fiving and fist bumping. Another really cool part of this days hike was that we got back into Namche close to sunset which made for some really great views of the sun on Everest. We also got to see a blanket of clouds just below us which looked like a huge fluffy cotton ball!
Day 10 Stats:
- Starting Town/Altitude: Pheriche (4200m)
- Stop 1 Town/Altitude: Phungithaya (3550m)
- Final Town/Altitude: Namche bazar (3500m)
- Accommodation/Cost/Recommend?: Lhasa Guest House/300 npr/yes
- Trek/Break(s) Duration: 8 hrs/1.5 hrs
- Difficulty: Moderate
Day 11/12: Namche Bazar to Lukla/Lukla to Katmandu


Namche to Lukla was an extremely long day as well (noticing a theme?). The days were longer going down because we only had 3 days to cover the distance, whereas going up we had 8 days, so we had more ground to cover each day on the way down. By this point my legs were extremely sore and I was just taking one step at a time repeating to myself ‘you are almost there’. After a nine hour day we finally reached Lukla, we celebrated our last day with our guide and two porters. We were so thankful to have completed the trek and so proud of ourselves. The next morning we woke up and waited at the airport hoping to be let on a flight that day even though our flight was scheduled for the following day. Flights being cancelled from Lukla to Kathmandu is kind of a ‘thing’ – we met people who had been stranded in Lukla for 3 days or more, so we didn’t want to chance our originally booked flight on that Saturday being cancelled and then subsequently missing our flight to New York. Luckily we were able to pre-pone to an earlier flight the day before; we got the final seats on the last plane out!
Day 11 Stats:
- Starting Town/Altitude: Namche bazar (3500m)
- Stop 1 Town/Altitude: Phakding (2651m)
- Final Town/Altitude: Lukla (2800m)
- Accommodation/Cost/Recommend?: Himalaya Lodge/300 npr/yes
- Trek/Break(s) Duration: 8 hrs/1 hrs
- Difficulty: Moderate
As challenging as this trek was, we definitely recommend it! We hope that this itinerary helps you plan your trek to this region. If you are moderately fit, healthy, don’t smoke, deal pretty well with altitude, you should have minimal problems. Keep in mind, AMS CAN happen to the even the healthiest & fittest of people. We recommend that in addition to training at home, get a prescription from your doctor for Diamox. We believe that was a large part of what kept us healthy during the trek!
Thanks for reading & Saif travels!

Pingback: Nepal: Kathmandu-in’ it! Gateway to the Everest Region – Saif Travels
Awesome! Love the stats breakdowns too!
LikeLike